
Online Web Application: Simple Message Bank
In this blog post, I will create a simple webapp using Flask, a python web framework.
This app we are going to build is a simple message bank. It will do two things:
- Allow the user to submit messages to the bank.
- Allow the user to view a sample of the messages currently stored in the bank.
§1. Setup Up
§1.1 Setting up the Repository
This code for our app must be hosted in a GitHub repository. Let’s begin by creating such a repository. Commit and push each time we successfully add a new piece of functionality or resolve a bug.
Here’s a link to my projects repository:
https://github.com/EGZJ17/Message-Bank-Flask.git
Let’s look inside the repository. In order for this webapp to work, we need to create an app.py in the directory. Then, let’s create a templates folder to store all html files for the different pages on our webapp. Our html files include base.html, main.html, submit.html and view.html to store in the templates folder. There is also a style.css file in a separate static folder.
§1.2 Importing the necessary packages
First of all, we need to import all the packages that are going to be needed into our app.py file and also creating our app:
from flask import Flask, g, render_template, request
import numpy as np
import sqlite3

app = Flask(__name__)
§1.3 Setting up the templates
Note the the templates code is a little different than regular python code.
We can start buidling the website with a base.html where we can put the navigation links to the other functional pages. The source code of base.html is shown below:
<!doctype html>
<link rel="stylesheet" href="{{ url_for('static', filename='style.css') }}">
<title>{% block title %}A Simple Message Bank{% endblock %}</title>
<nav>
  <h1>A Simple Message Bank</h1>
  <!-- <b>Navigation:</b> -->
  <ul>
    <li><a href="{{ url_for('submit') }}">Submit a message</a></li>
    <li><a href="{{ url_for('view') }}">View messages</a></li>
  </ul>
</nav>
<section class="content">
  <header>
    {% block header %}{% endblock %}
  </header>
  {% block content %}{% endblock %}
</section>
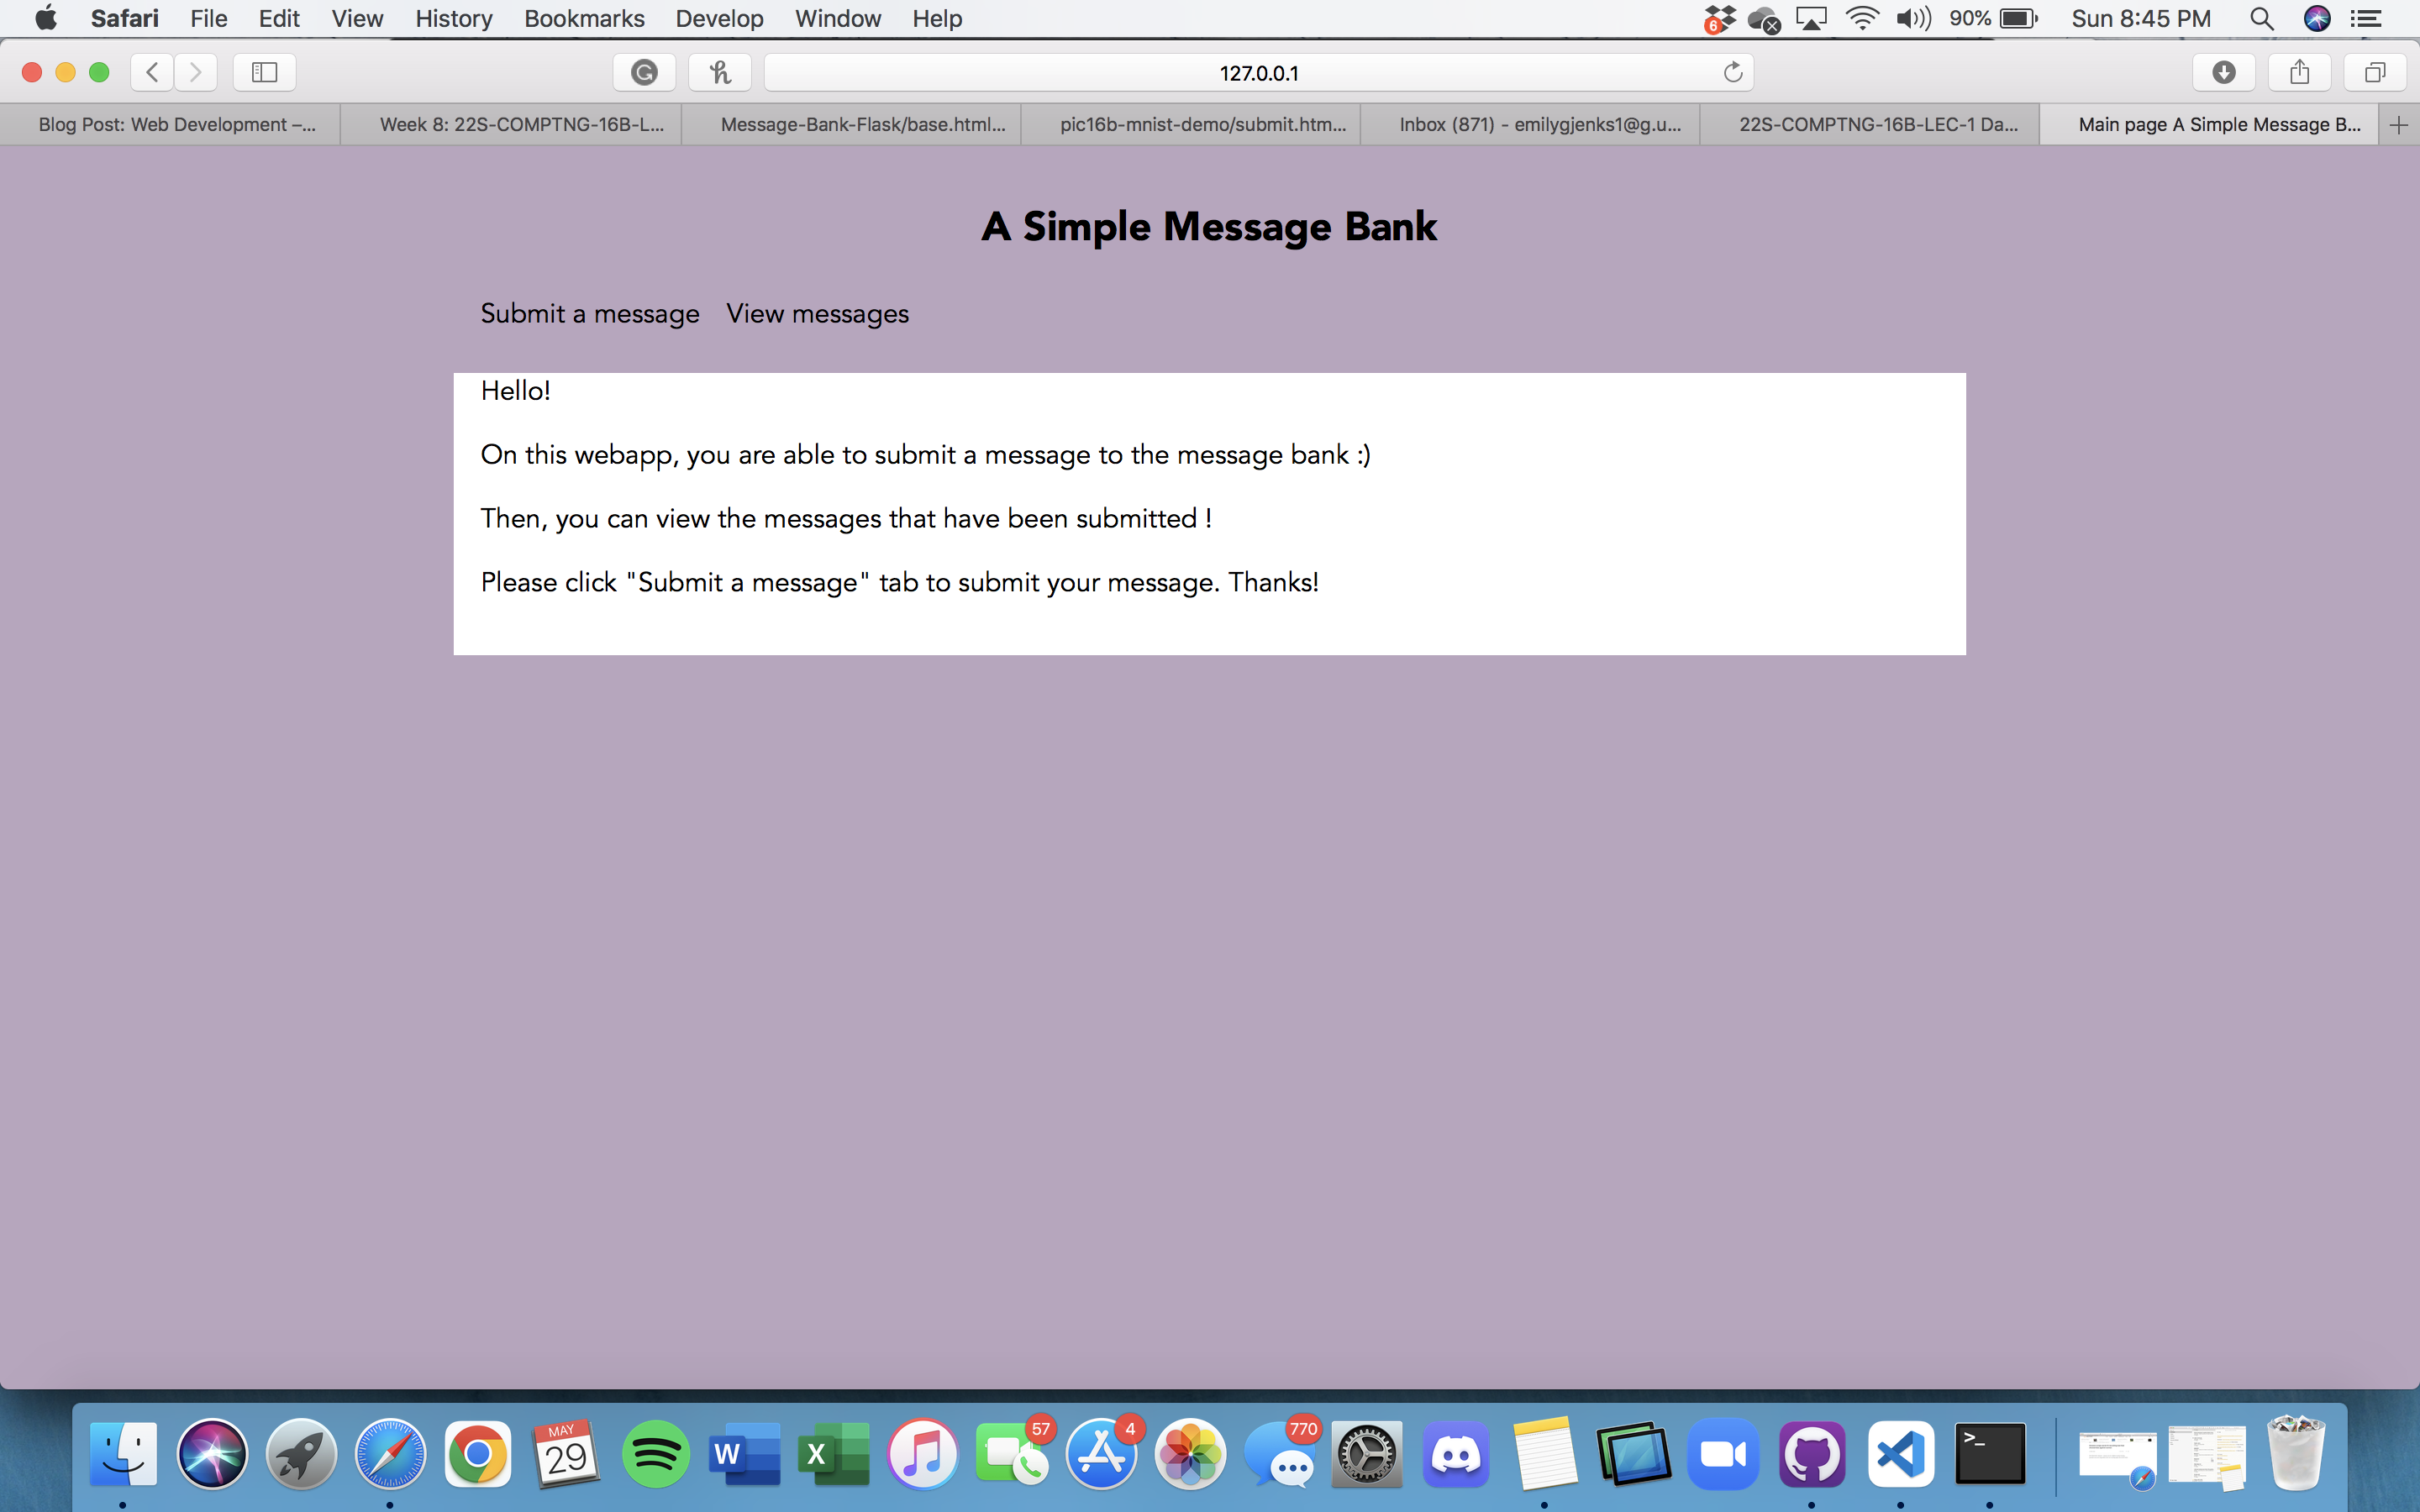
Next, let’s build the main.html that will serve the purpose of our homepage. The source code of main.html is shown below:
{% extends 'base.html' %}

{% block title %}Main page{% endblock %}

{% block content %}
<p>Hello! </p>
  <p>On this webapp, you are able to submit a message to the message bank :)</p>
  <p>Then, you can view the messages that have been submitted !</p>
  <p>Please click "Submit a message" tab to submit your message. Thanks! </p>
<p> </p>
{% endblock %}
Note that main.html has extra code to extend the base template at the top. This allows the main page to have the navigation features by extending or adding onto the base.html template. We will do this for every template.
Note: I will explain the structure of the submit.html and view.html in the next sections.
§2. Setting up app.py
§2.1 Main page
When the webpp is first launched by the user, it follows the command @app.route("/") and the main() function is called. After this, the function render_template (), which has been imported from Flask, is returned so that the main.html template is rendered.
# Create main page
@app.route('/')
def main():
    return render_template('main.html')
§2.2 Enable Submissions
get_message_db() function
We can start by writing a function get_message_db() that creates a database connection as an attribute message_db of g if it doesn’t already exist:
def get_message_db():
    #if db exists, return it
    try:
        return g.message_db
    #create db
    except:
        # connect to that database, ensuring that the connection is an attribute of g
        g.message_db = sqlite3.connect("messages_db.sqlite")

        # SQL command to create three columns
        cmd = \
        """
        CREATE TABLE IF NOT EXISTS messages (
            id INTEGER,
            message TEXT NOT NULL,
            handle TEXT NOT NULL)
        """
        cursor = g.message_db.cursor()
        cursor.execute(cmd)
        return g.message_db
This function initializes a SQL database if one has not already been created. Then, we add a table to our message_db if it doesn’t already exist. Then, we use SQL command create three columns in our table; id, message, and handle. Finally, we return a connection to our database.
insert_message(request) function
Now, we need to create a function insert_message(request) to insert every input message into the “message_db.sqlite” datebase using SQL command:
def insert_message(request):

    # store user's submitted message
    message = request.form['message']
    # store user's submitted name
    handle = request.form['handle']

    # open the connection
    conn = get_message_db()
    cursor = conn.cursor()

    #count rows and assign unique id
    cursor.execute("select count(*) from messages")
    rows = cursor.fetchone()[0]
    message_id = 1 + rows

    # Use SQL command to insert the user's message and handle into the database
    cmd = \
    f"""
    INSERT INTO messages (id, message, handle)
    VALUES ('{message_id}', '{message}', '{handle}')
    """

    cursor.execute(cmd)
    # ensure row insertion has been saved
    conn.commit()
    #close the connection
    conn.close()

    return message, handle
We see above that the messages and handles can be obtained by request.form[handle] where handle is the name given to the message/handle in the submit.html file.
The messages should be saved along with an id number. The id number can be set to the total number of messages stored + 1. The total number of rows in the existing database can be found by selecting all rows from the message table and using fetchall().
Then, we use SQL command to insert the user’s message and handle into the database
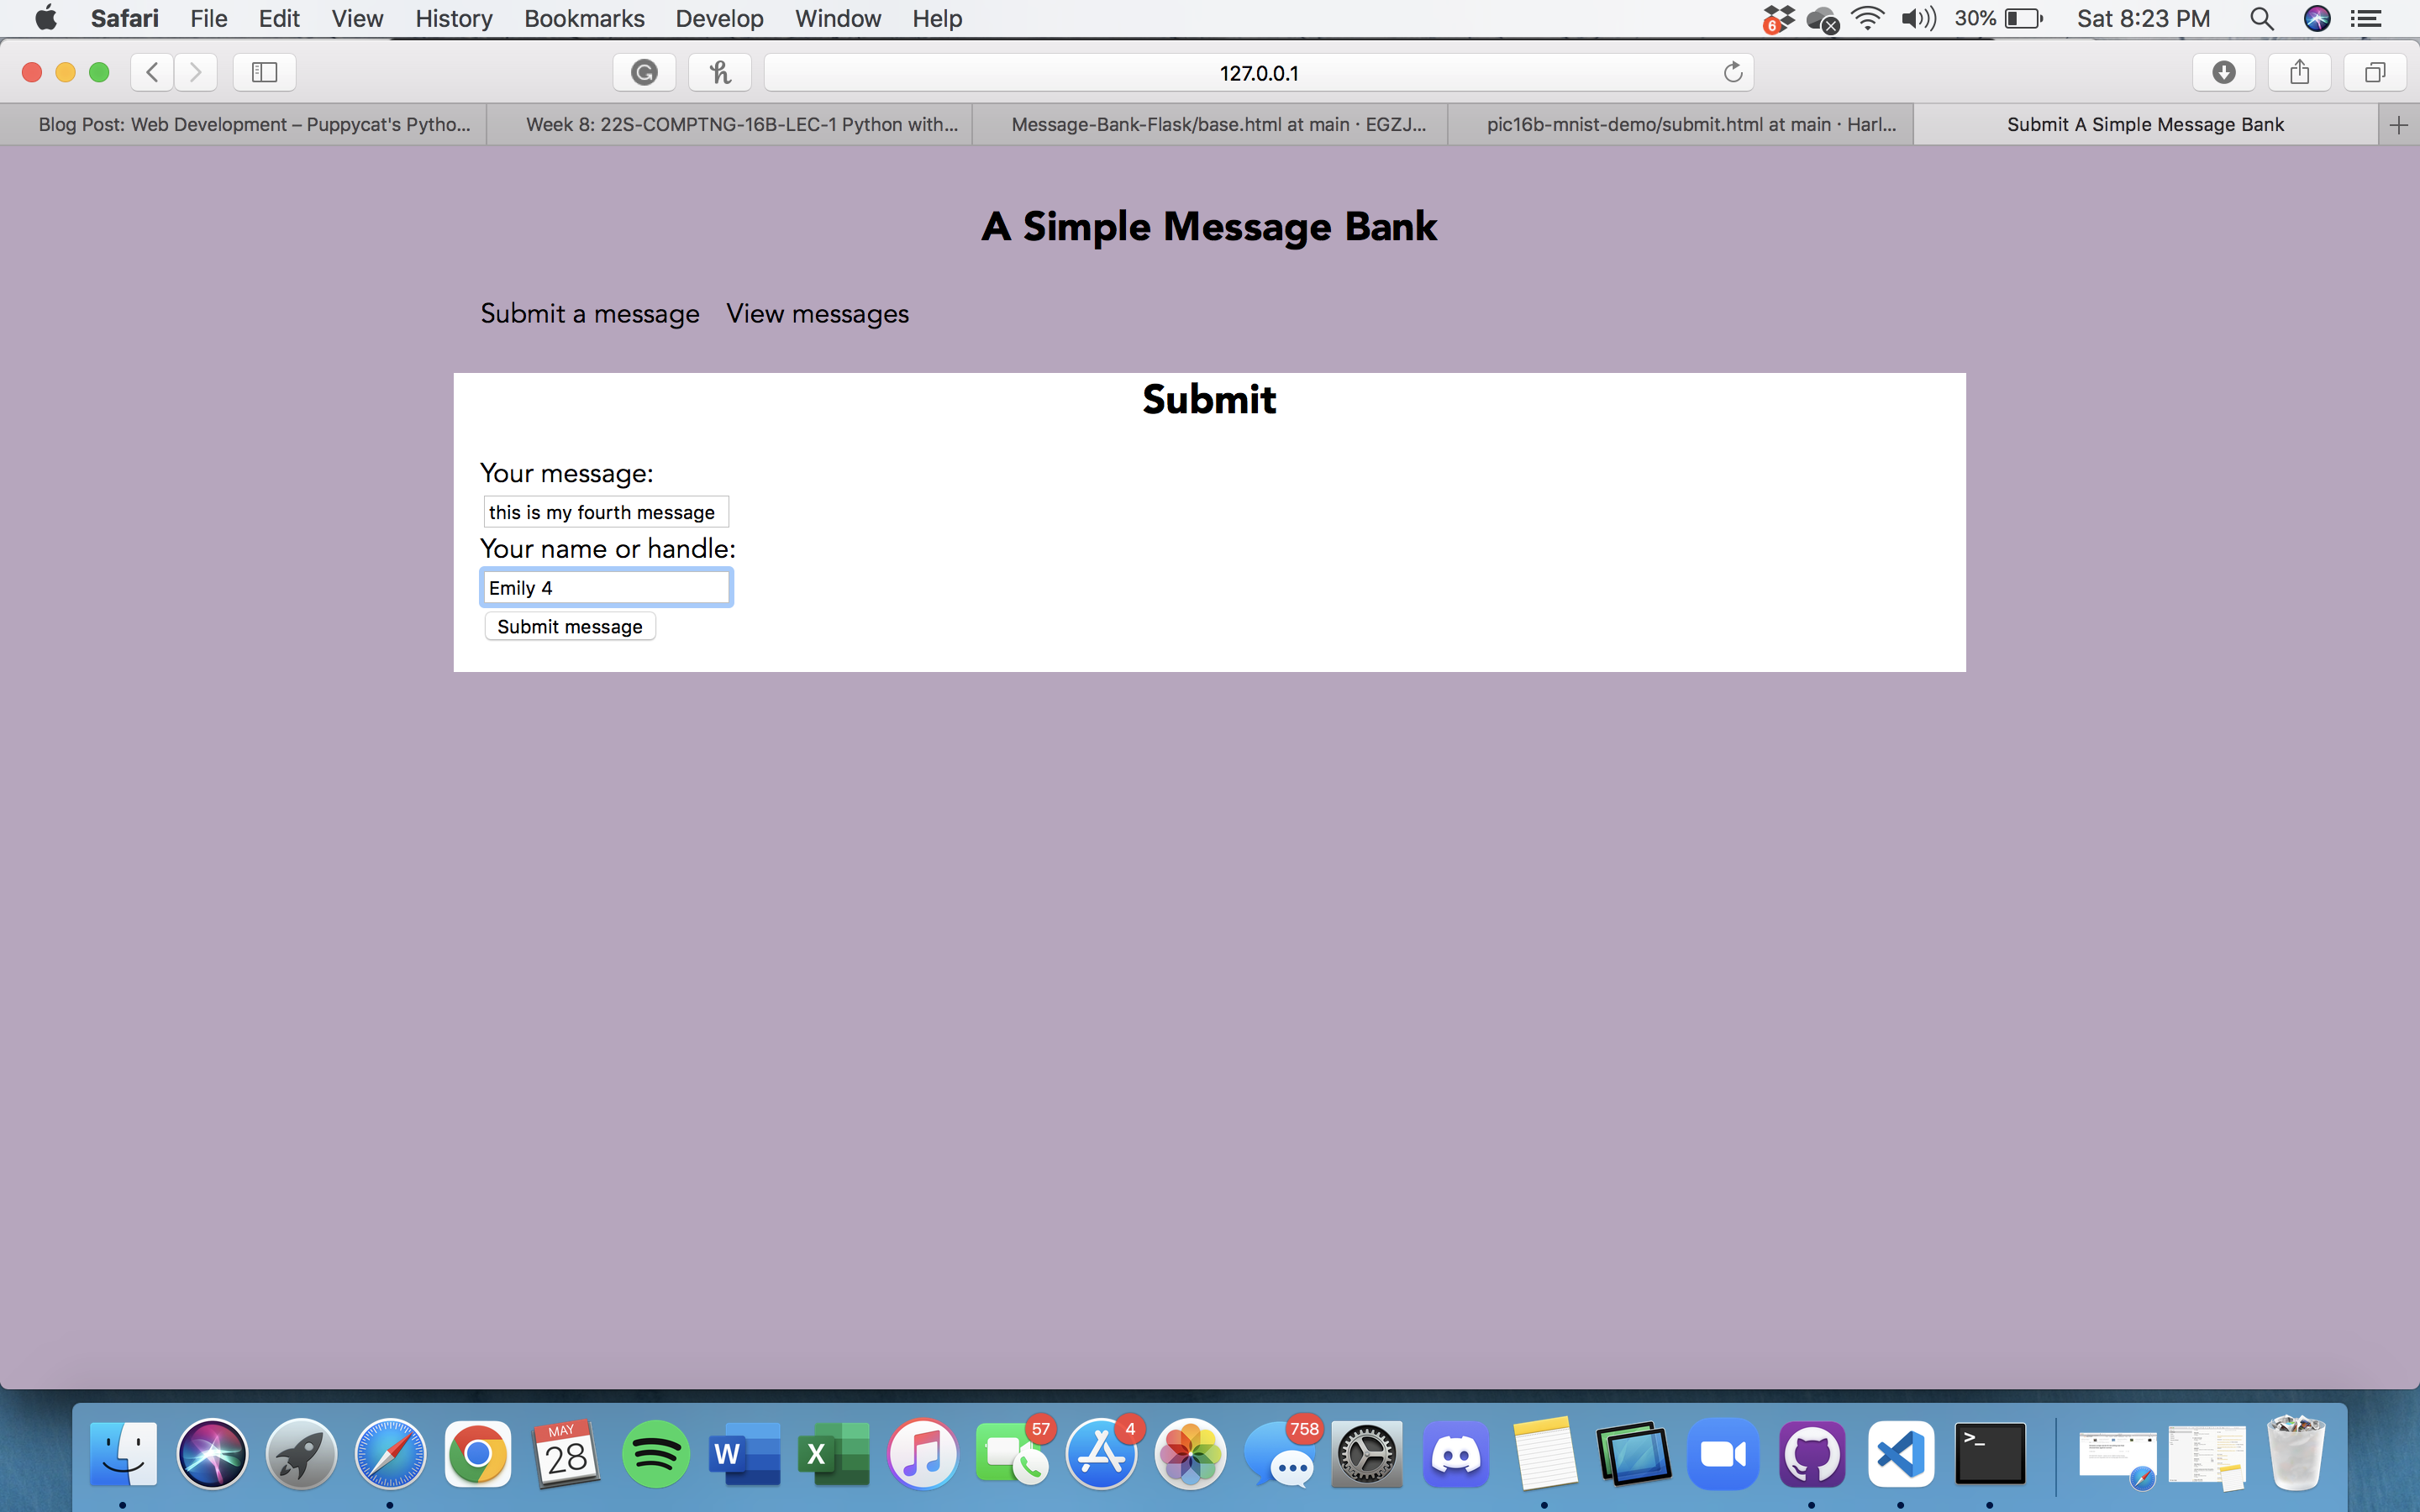
submit.html template
The submit.html is extended from base.html as discussed earlier. The submit page includes two input boxes that accept the message and handle as text input, and a submit button. This also includes two if statements showing messages for when there is a successful submission and an empty submission respectively.
The source code is shown below:
{% extends 'base.html' %}

{% block header %}
  <h1>{% block title %}Submit{% endblock %}</h1>
{% endblock %}

{% block content %}
  <form method="post">
      <label for="message">Your message:</label>
      <br>
      <input type="text" name="message" id="message">
      <br>
      <label for="handle">Your name or handle:</label>
      <br>
      <input type="text" name="handle" id="handle">
      <br>
      <input type="submit" value="Submit message">
  </form>

 {% if thanks %}
    <br>
    Thanks for submitting a message! 🎉
 {% endif %}

 {% if error %}
    <br>
    Oh no, we couldn't submit that message! Please try again and make sure to not leave the message or name blank.
 {% endif %}
Submit Page
We are going to write a function to render_template() the submit.html template. Since this page will both transmit and receive data, we should ensure that it supports both POST and GET methods, and give it appropriate behavior in each one. In the GET case, we render the submit.html template with no other parameters. In the POST case, we call insert_message() (and then render the submit.html template)
# Submit Page
@app.route('/submit/', methods=['POST', 'GET'])
def submit():
    # user's first time at submit page, show form
    if request.method == 'GET':
        return render_template('submit.html')

# If user submitted form
    else:
        insert_message(request)
        try:
            #pass the filled in parameters
            return render_template('submit.html', thanks=True)
        #if there is an error
        except:
            return render_template('submit.html', error=True)
§2.3 Enable Viewing Random Submissions
random_messages(n) function
Write a function called random_messages(n) which will return a collection of n random messages from the message_db, or fewer if necessary. Don’t forget to close the database connection within the function.
def random_messages(n):

    # open the connection
    conn = get_message_db()

    # initialize cursor
    cursor = conn.cursor()

    #get n random messages
    cmd = \
    f"""
    SELECT * FROM messages ORDER BY RANDOM() LIMIT {n}
    """

    cursor.execute(cmd)

    # store in list
    message_list = cursor.fetchall()
    #close the connection
    conn.close()

    return message_list
We used SQL command to select a random n rows from our messages table in our database. We then retrieve these messages in the form of a list of n-tuples using the line cursor.fetchall(). The first element in each tuple will contain the message id, the second the user’s message, and the third the user’s handle. Lastly, we close our connection and return our list of n-tuples.
view.html template
Our final template describes the view maessages page on our webapp. first we extend the base.html template. We use a for loop to loop through the different messages queried by our database.
{% extends 'base.html' %}


{% block header %}
  <h1>{% block title %}Some Cool Messages {% endblock %}</h1>
{% endblock %}

{% block content %}
  {% for message in messages %}
    <br>
    <b>{{ message[0] }}:</b> "{{ message[1] }}"
    <br>
    <i>- {{ message[2] }}</i>
    <br>
  {% endfor %}

{% endblock %}
View Page
We are going to write a function to render_template() the submit.html template. This function first calls random_messages() to grab some random messages (I chose a cap of 3), and then pass these messages as an argument to render_template().
# view page
@app.route('/view/')
def view():
    # get 3 random messages to view
    return render_template('view.html', messages=random_messages(3))
§3. Customize your App
Now, let’s look at the style.css in the static folder.
Some examples of attributes in the CSS style sheet include font, font size, and background color. I changed the font to Avenir and the background color to a light pastel purple and the border radius to a sharp corner instead of round.
html {
    font-family: Avenir;
    background: rgb(185, 165, 191);
    padding: 1rem;
}

body {
    max-width: 900px;
    margin: 0 auto;
}

h1 {
    color: rgb(0, 0, 0);
    font-family: Avenir;
    margin: 1rem 0;
    text-align: center;
}

a {
    color: black;
    text-decoration: none;
}

hr {
    border: none;
    border-top: 1px solid lightgray;
}

nav {
    background: rgb(185, 165, 191);
    padding: 0 0.5rem;
    border-radius: 25px;
}

nav ul  {
    display: flex;
    list-style: none;
    margin: 0;
    padding: 0;
}

nav ul li a {
    display: block;
    padding: 0.5rem;
}

.content {
    padding: 0 1rem 1rem;
    background: white;
    border-radius: 0px;
}

.flash {
    text-align: center;
    margin: 1em 0;
    padding: 1em;
    background: #cae6f6;
    border: 1px solid #377ba8;
}
§4. Screencaps
Here are screencaps of the webapp:

Hope you enjoyed this tutorial!